How to Brighten, Correct, and Keep Concealer from Creasing
Every professional makeup artist knows that the under-eye area can make or break a complexion. Dark circles, fine lines, and dehydration can quickly turn even the best makeup look into something heavy or tired.
But when concealer is used correctly, it becomes one of the most powerful tools in your kit instantly brightening the face and restoring a rested, lifted appearance.
No makeup application is complete without proper eyecare. Read our blog about the best skincare for your eyes: And The Eyes Have It! Why An Eye Product Is the Pro-aging Skincare You Need
For those who want to know how to blend it all, the professional makeup artistry program’s focus ranges in applications from primary soft eye shadow looks to intense dramatic looks such as the smokey eye effects. Other makeup topics are covered like bridal and photography makeup and the fundamentals of makeup artistry.
Here’s how Art Institute of Makeup approaches under-eye concealers as a pro MUA.
Step 1: Prep the Under-Eye Area First
One of the biggest mistakes I see is applying concealer directly onto dry or unprepped skin.
The skin around the eyes is thinner and more delicate than the rest of the face, which means dehydration can exaggerate texture, fine lines, and darkness.
Before concealer, always prepare the area with:
- a lightweight eye cream
- hydration-boosting serum
- a few seconds of gentle tapping to stimulate circulation
Hydration helps concealers apply smoother and with less product.
Pro MUA Tip: Let eye cream absorb for about 60 seconds before applying makeup so the concealer doesn’t slide or crease.
Step 2: Brighten First, Then Conceal
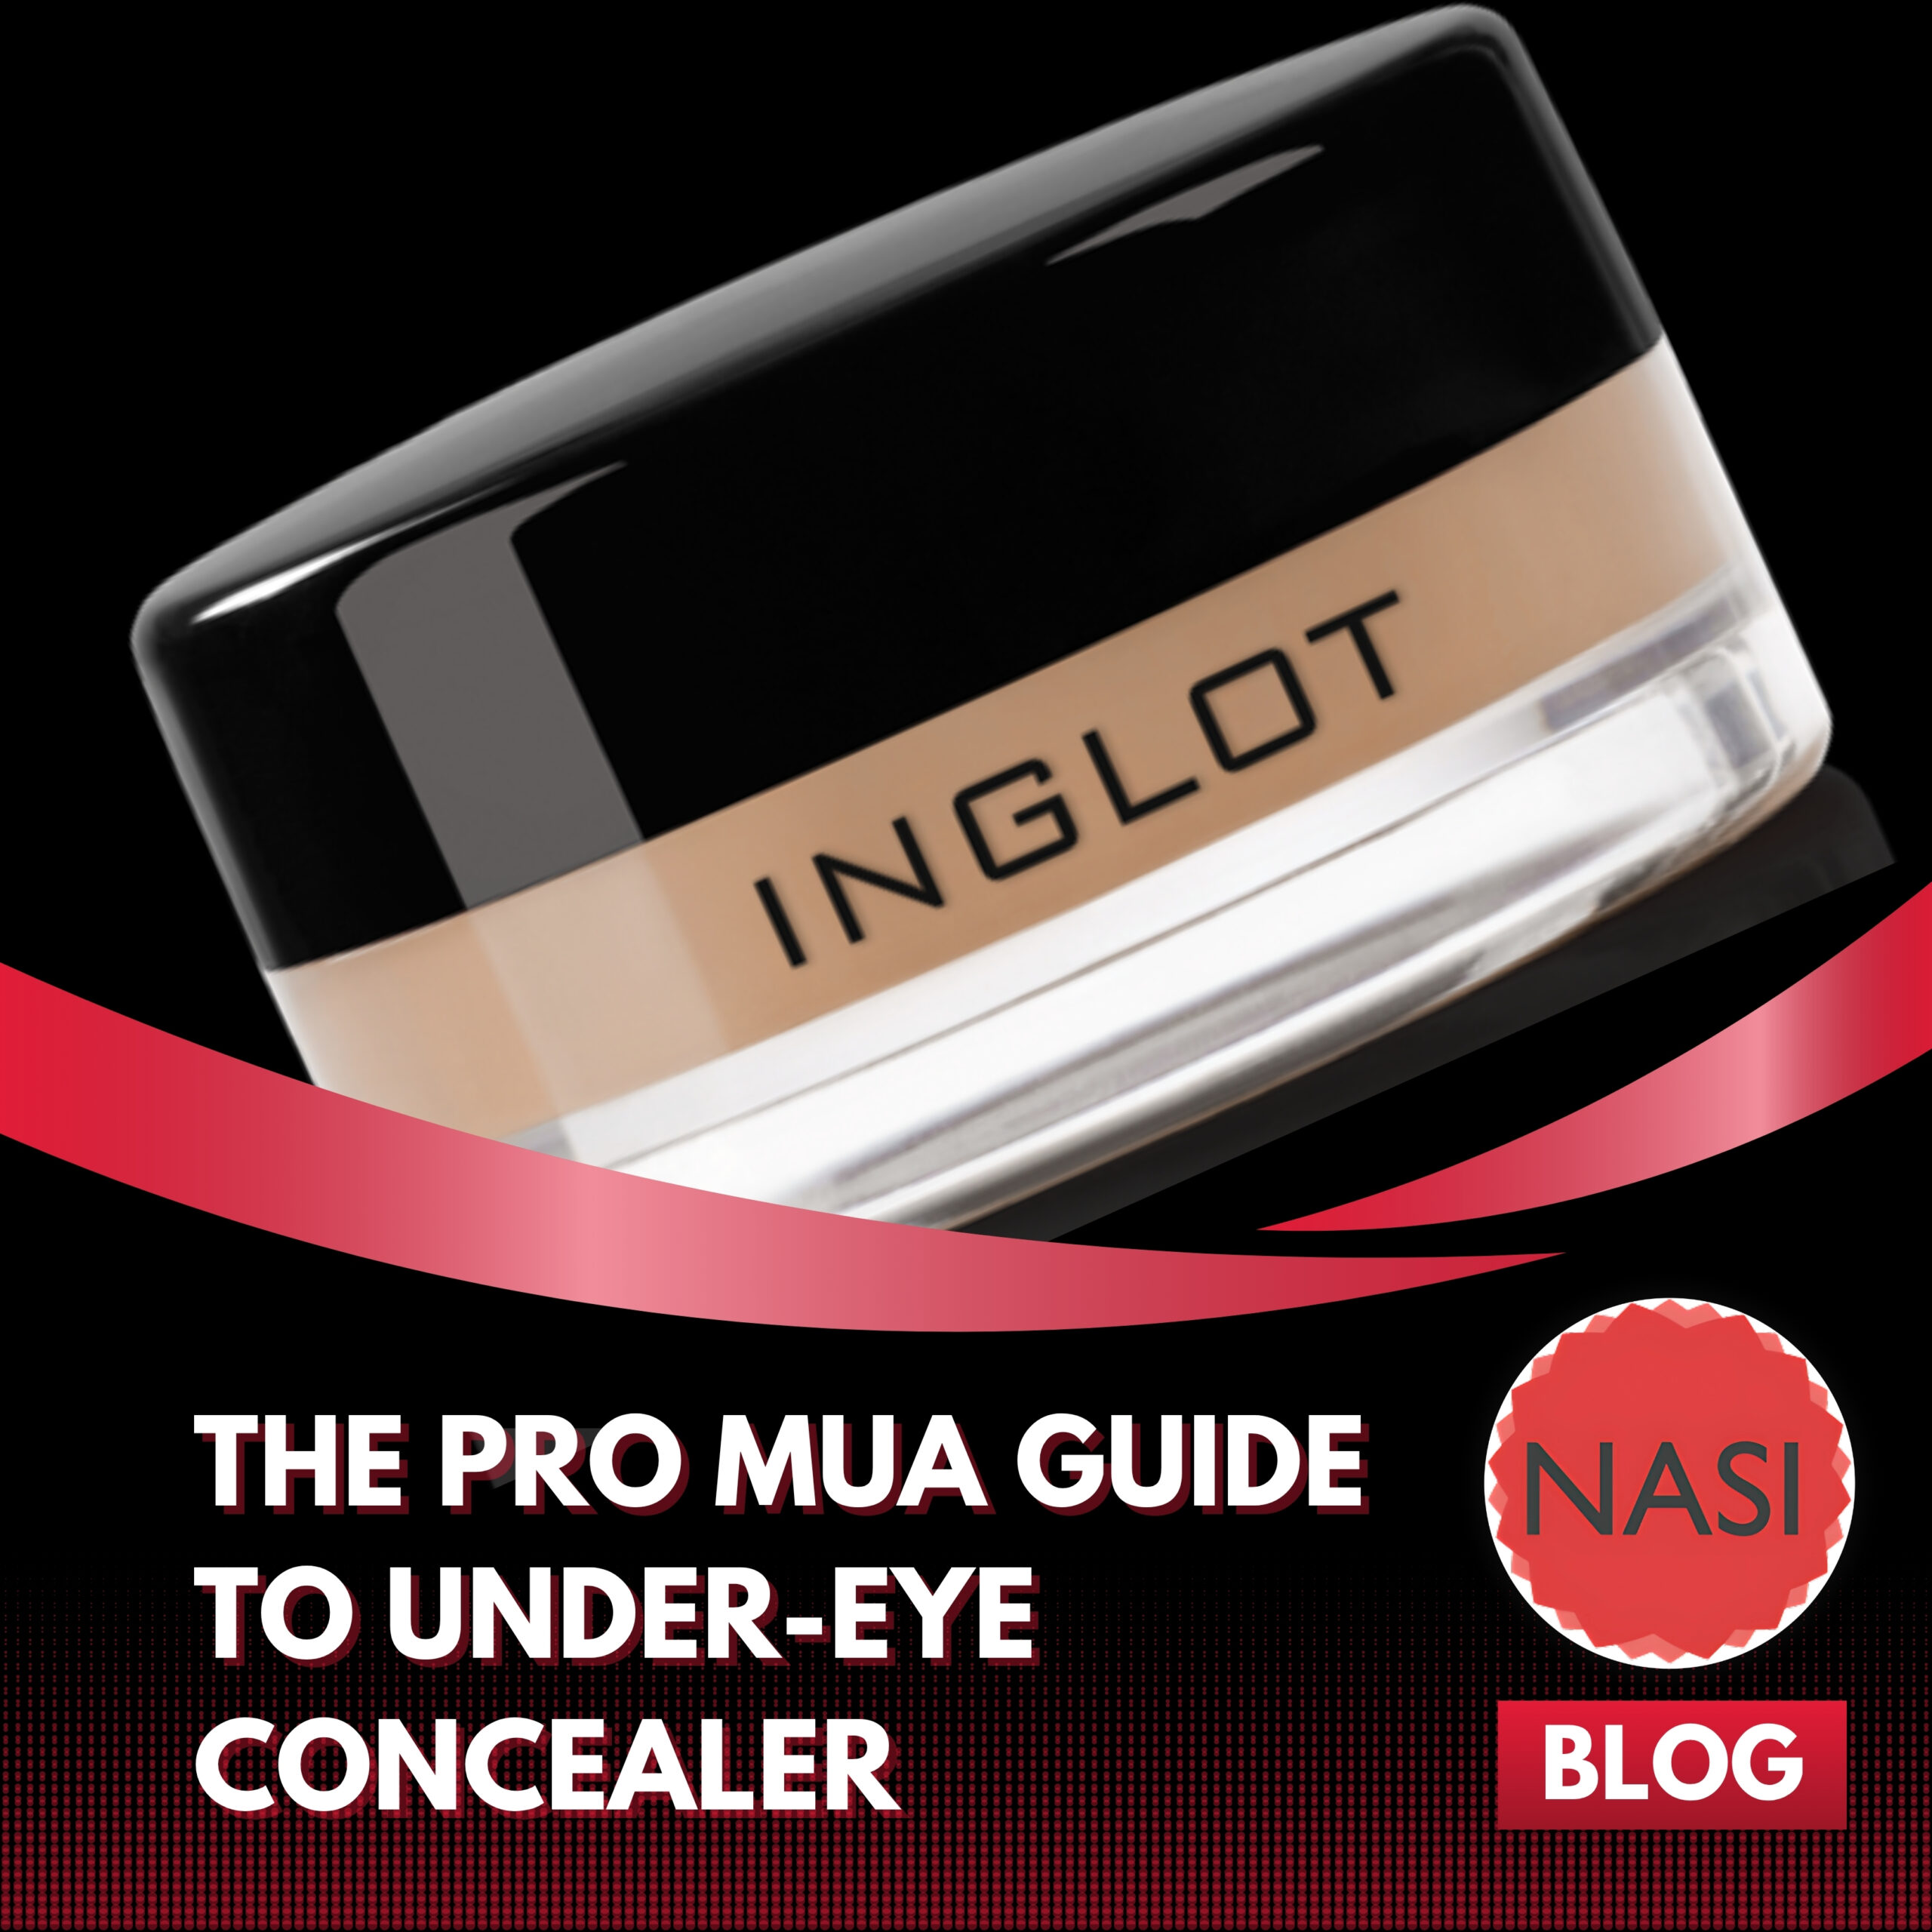
A trick many artists use is two layers of concealer rather than one thick layer.
Start with a brightening shade 1–2 shades lighter than your skin tone to soften dark circles.
Then apply a concealer that matches your skin tone only where coverage is needed.
This technique keeps the under-eye area bright but still natural.
When I’m working in my professional kit, I often use creamy formulas that blend easily such as:
- creamy pot formulas like Inglot Cosmetics concealers when I want targeted correction
The key is thin layers.
Step 3: Placement Matters More Than Coverage
Another common mistake is applying concealer everywhere under the eye.
Instead, focus on the inner corner and tear-trough area, where darkness is usually strongest.
A small amount blended outward gives a much more natural lift.
Professional artists also avoid placing concealer directly along the lash line because this is where product tends to crease or gather in fine lines.
Pro Tip:
Tap concealer into the skin with the ring finger or a small brush to create a skin-like finish.
Step 4: Choose the Right Formula
Not all concealers perform the same under the eyes.
For professional work I typically look for formulas that are:
- lightweight
- hydrating
- blendable
- buildable coverage
For example, serum-style concealers give hydration and glow, while fuller-coverage concealers help neutralize deeper discoloration.
If skin is mature or dry, overly matte formulas can emphasize texture, so a creamy blendable product works better.
Step 5: Set Lightly (Don’t Over-Powder)
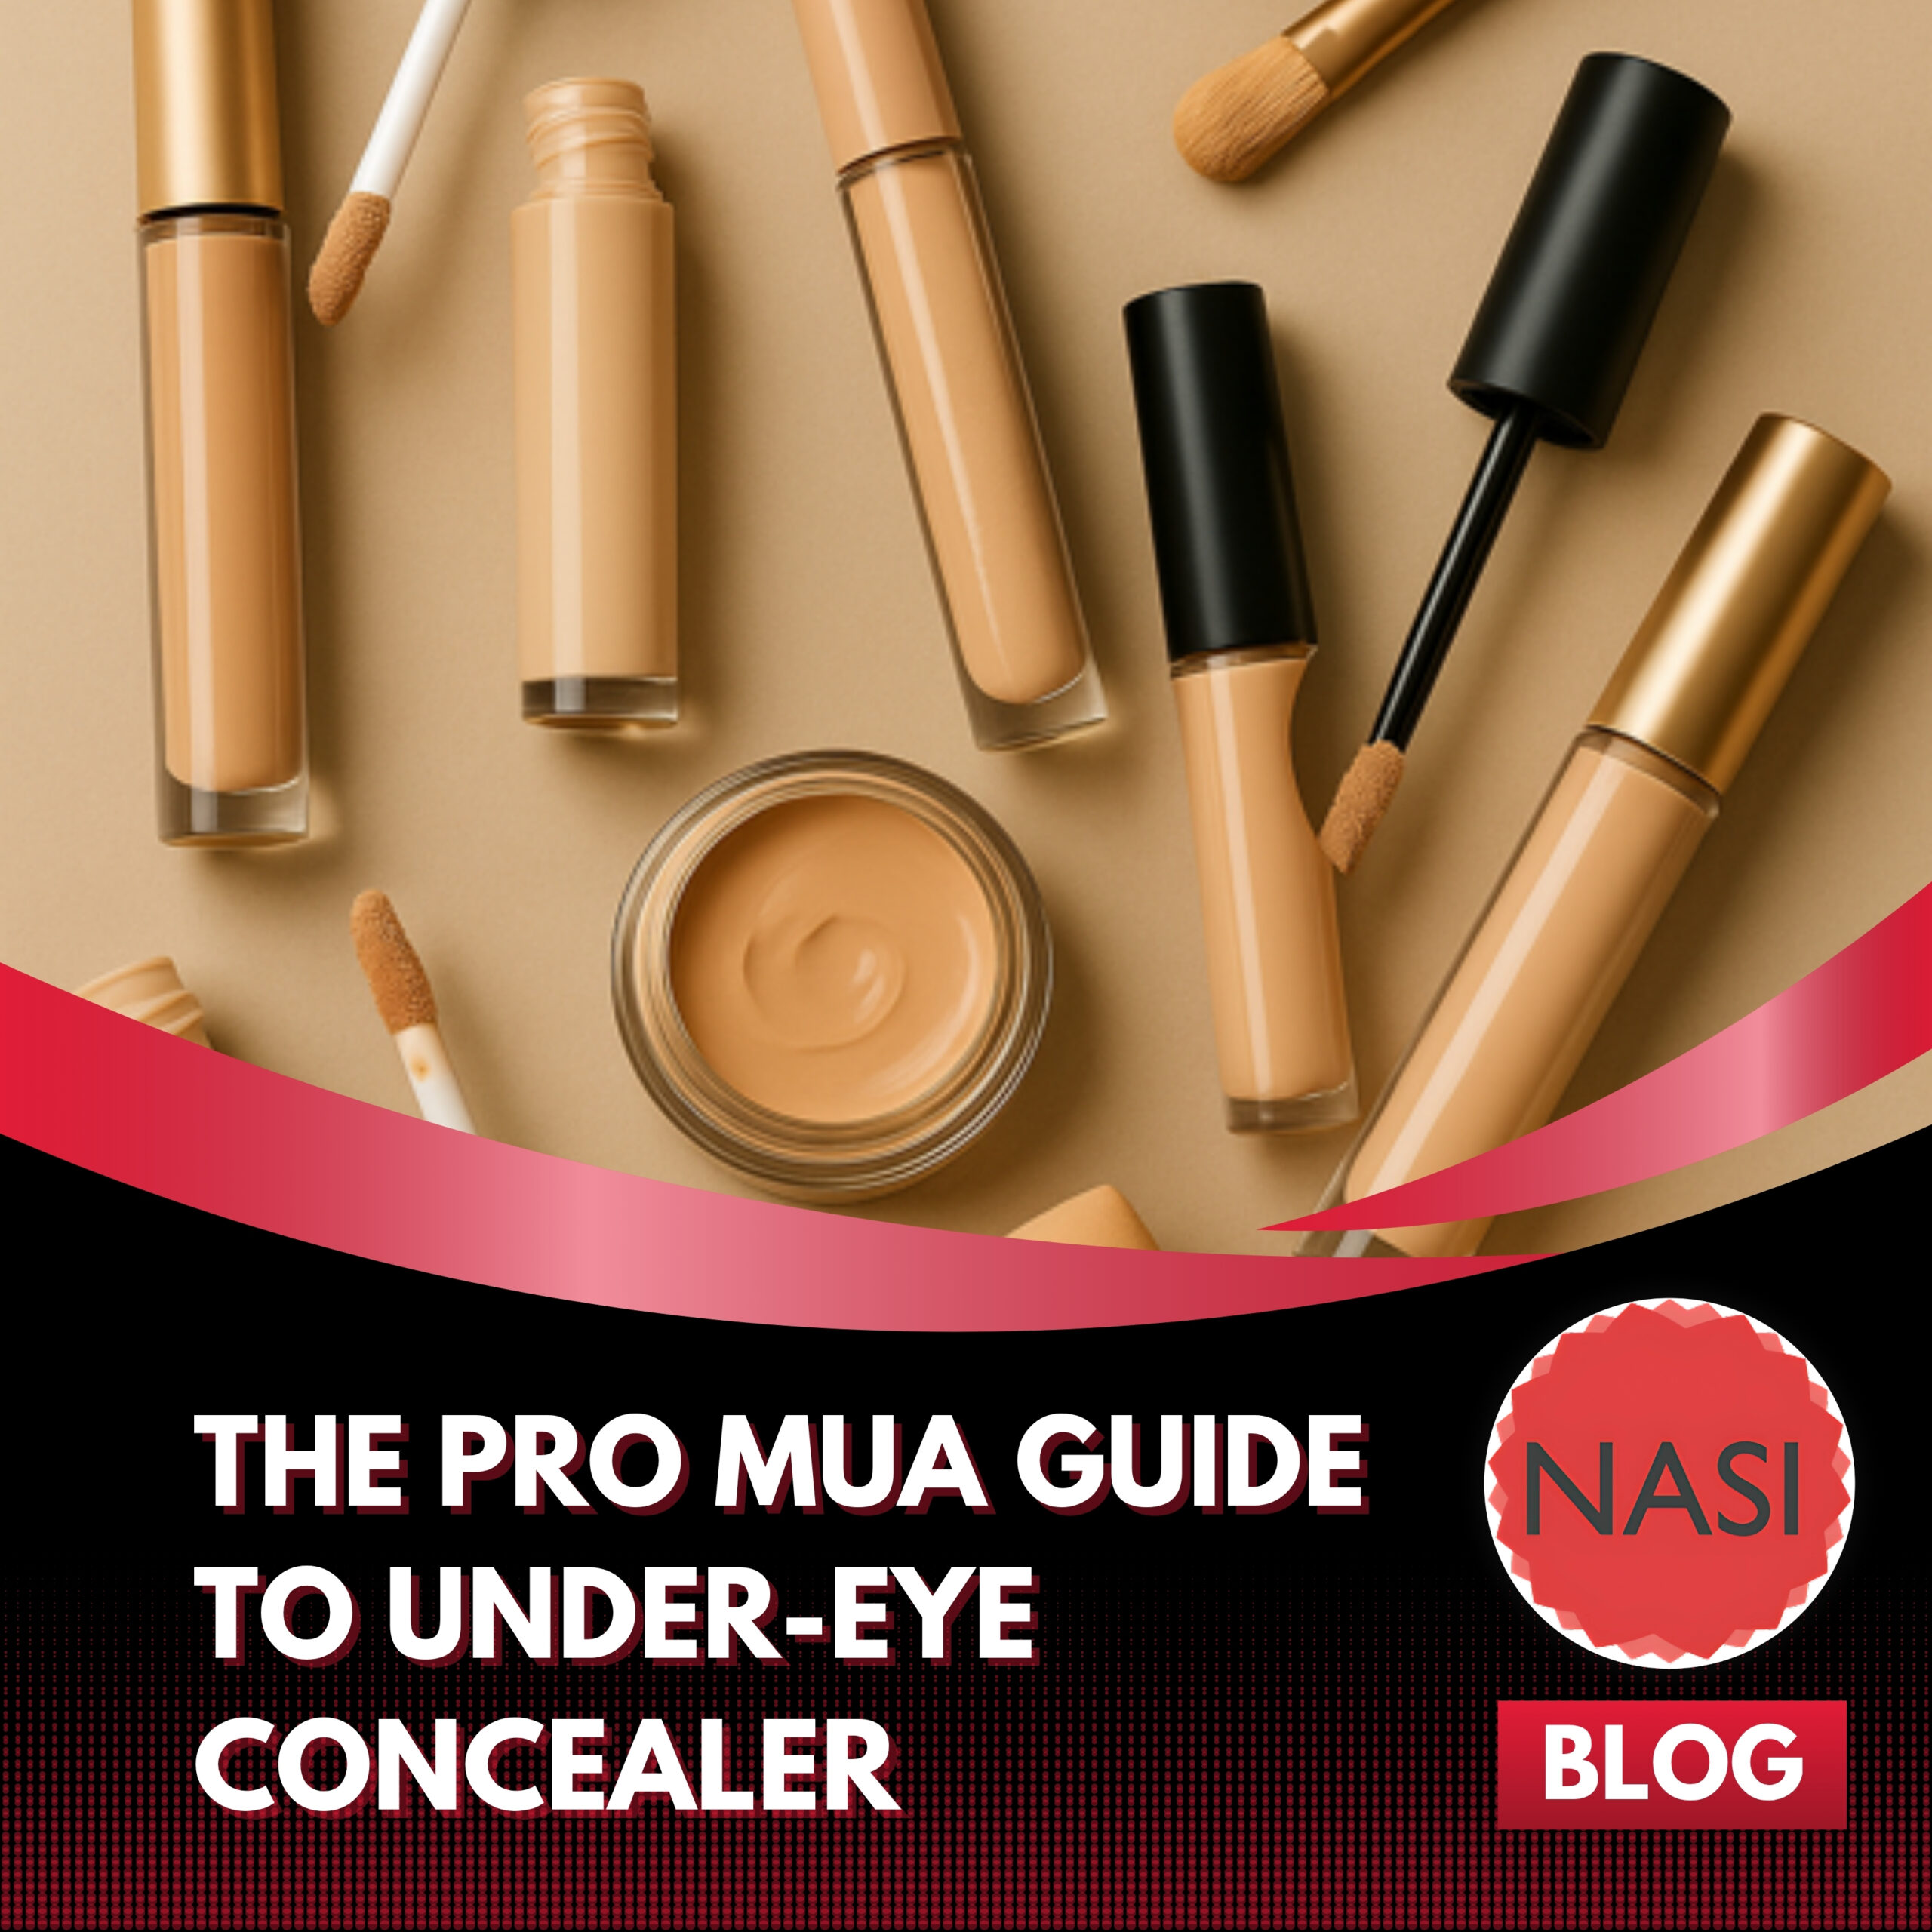
Once the concealer is blended, setting it properly is essential.
Using a very small amount of loose powder helps prevent creasing without drying the under-eye area.
A tiny fluffy brush or velour puff works best.
In my kit I often reach for finely milled powders like the Inglot Cosmetics loose setting powders, which keep concealer in place while maintaining a natural finish.
Pro Tip: Press powder gently into the skin rather than sweeping it across the area.
Under-eye concealer isn’t about covering everything, it’s about strategic brightening and subtle correction.
When the skin is hydrated, the product is layered lightly, and placement is intentional, concealer can instantly make the face look more awake and lifted.
For artists and makeup lovers alike, mastering this step can transform the entire complexion.
Ready to elevate your professional makeup artistry?
Your beauty professional career starts with the right beauty school—one that invests in YOU.
Conveniently located in Des Plaines, NASI serves students from across Chicagoland neighborhoods including:
- Bronzeville, Chicago, IL – about 1 hour from the New Age Spa Institute
- Bucktown, Chicago, IL – about 50 minutes to the New Age Spa Institute
- Chicago Lawn, Chicago, IL – about 50 minutes from the New Age Spa Institute
- Hyde Park, Chicago, IL – about 1 hour to the New Age Spa Institute
- Gold Coast, Chicago, IL – about 1 hour to the New Age Spa Institute
Searching for the right beauty school? Check out the New Age Spa Institute!
- Beauty School near Bronzeville
- Beauty School near Bucktown
- Beauty School near Chicago Lawn
- Beauty School near Hyde Park
- Beauty School near Gold Coast
NASI is a professional, adult-focused learning center for esthetics, massage therapy, and advanced clinical skin education—all just a short drive from home!
Why Choose NASI if You’re in Chicagoland
- Commute-friendly location near major expressways [I-90 (Kennedy Expressway), I-294 (Tri-State Tollway), and the Elgin-O’Hare Expressway (IL-390)] and Metra.
- Small class sizes
- Free on-site parking
- Live demos & Hands-on training
Tour the school, meet your educators, and explore financial planning options
Visit www.newagespainstitute.com or call 847-759-0900 to explore enrollment options today.
Get Social With Us!
#nasiedu | Instagram: @NewAgeSpaInstitute
Facebook: New Age Spa Institute Education